官方介绍:What are extensions?
follow教程 Getting Started Tutorial
项目目录
~/demo_chrome_extension
1. Manifest
创建一个 Manifest 文件:~/demo_chrome_extension/manifest.json
{
  "name": "Getting Started Example",
  "version": "1.0",
  "description": "Build an Extension!",
  "manifest_version": 2
}
新建一个图标文件夹 ~/demo_chrome_extension/images/ 并注册到 manifest:
{
  "name": "Getting Started Example",
  "version": "1.0",
  "description": "Build an Extension!",
  "icons": {
    "16": "images/get_started16.png",
    "32": "images/get_started32.png",
    "48": "images/get_started48.png",
    "128": "images/get_started128.png"
  },
  "manifest_version": 2
}
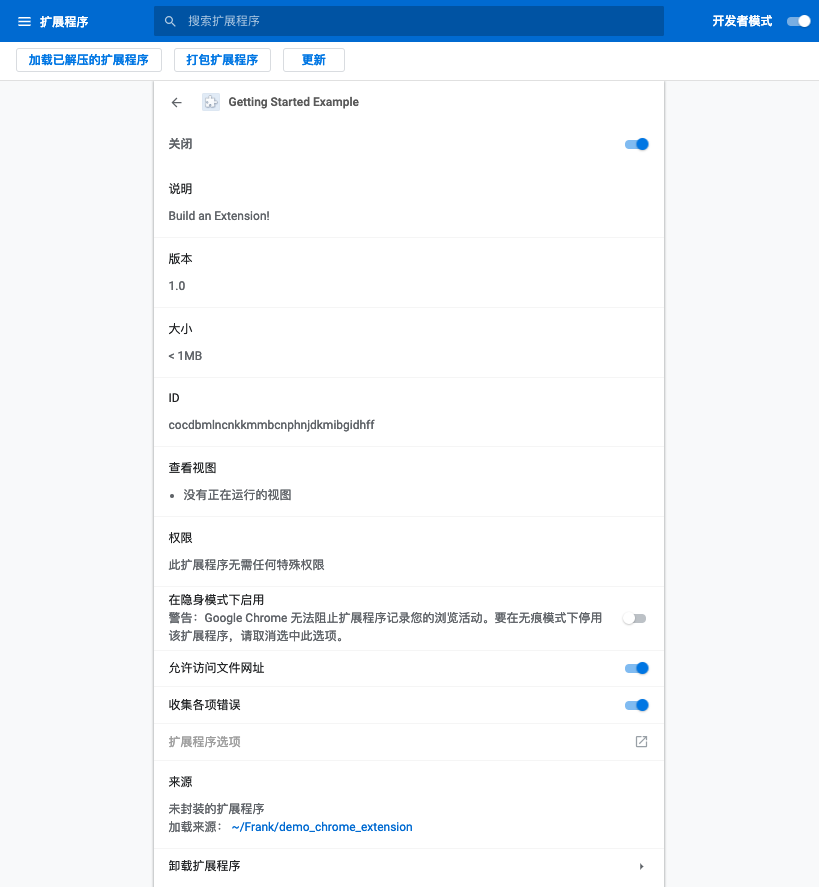
在 Chrome 的开发者模式(
chrome://extensions),我们可以加载直接包含manifest文件的本地扩展源码目录。
即使只有一个 manifest.json,我们也可以把它安装到chrome,虽然它什么都干不了
2. 背景页
新建一个 js 文件:~/demo_chrome_extension/background.js:
chrome.runtime.onInstalled.addListener(function() {
  chrome.storage.sync.set({color: '#3aa757'}, function() {
    console.log("The color is green.");
  });
});
这段目前不需要理解的代码调用了一个需要申请权限的接口 chrome.storage,
在 manifest 中注册这个脚本并声明所需权限:
 {
    "name": "Getting Started Example",
    "version": "1.0",
    "description": "Build an Extension!",
    "permissions": ["storage"],
    "background": {
      "scripts": ["background.js"],
      "persistent": false
    },
    "manifest_version": 2
  }
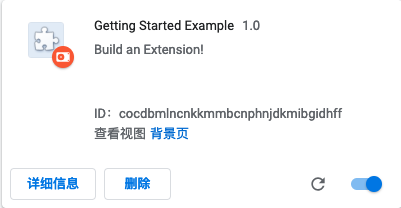
现在刷新一下,点击查看视图后面的 背景页 链接,就可以看到 background 脚本的控制台输出。
3. 交互界面
chrome扩展提供许多种不同形式的用户界面,我们先试一下 popup (弹出窗口)。 点击chrome工具栏上的扩展图标弹出的就是 popup 页面。
首先新建一个名为 popup 的html文件:
~/demo_chrome_extension/popup.html
<!DOCTYPE html>
<html>
  <head>
    <style>
      button {
        height: 30px;
        width: 30px;
        outline: none;
      }
    </style>
  </head>
  <body>
    <button id="changeColor"></button>
  </body>
</html>
然后在 manifest 中注册这个页面:
{
  "name": "Getting Started Example",
  "version": "1.0",
  "description": "Build an Extension!",
  "background": {
    "scripts": ["background.js"],
    "persistent": false
  },

  "page_action": {
    "default_popup": "popup.html"
  },
  "icons": {
    "16": "images/get_started16.png",
    "32": "images/get_started32.png",
    "48": "images/get_started48.png",
    "128": "images/get_started128.png"
  },
  "manifest_version": 2
}
这个时候扩展图标还是灰色的,点击也不会弹出 popup 页面。我们还需要在 background 脚本中告诉chrome什么时候用户可以和 popup 页面交互。
chrome.runtime.onInstalled.addListener(function() {
  console.log('I\'m installed!');
  chrome.declarativeContent.onPageChanged.removeRules(undefined, function() {
    chrome.declarativeContent.onPageChanged.addRules([{
      conditions: [new chrome.declarativeContent.PageStateMatcher({
        pageUrl: {hostEquals: 'developer.chrome.com'},
      })],
      actions: [new chrome.declarativeContent.ShowPageAction()]
    }]);
  });
});
想要调用 chrome.declarativeContent 接口我们还需要再声明一个权限 declarativeContent。
{
  "name": "Getting Started Example",
  "version": "1.0",
  "description": "Build an Extension!",
  "permissions": ["storage", "declarativeContent"],
  "background": {
    "scripts": ["background.js"],
    "persistent": false
  },
  "page_action": {
    "default_popup": "popup.html"
  },
  "icons": {
    "16": "images/get_started16.png",
    "32": "images/get_started32.png",
    "48": "images/get_started48.png",
    "128": "images/get_started128.png"
  },
  "manifest_version": 2
}
重新加载扩展,如果当前页面URL域名是 https://developer.chrome.com/,工具栏上的扩展图标会变回彩色,点击图标会弹出我们的 popup 页面。
4. popup 页面逻辑
popup 页面的脚本需要写在单独的 popup.js 文件,然后可以直接在 popup.html 中引用:
~/demo_chrome_extension/popup.js
let changeColor = document.getElementById('changeColor');

chrome.storage.sync.get('color', function(data) {
  changeColor.style.backgroundColor = data.color;
  changeColor.setAttribute('value', data.color);
});
<!DOCTYPE html>
<html>
  ...
  <body>
    <button id="changeColor"></button>
    <script src="popup.js"></script>
  </body>
</html>
重新加载扩展demo可以看到按钮背景变为绿色。下面继续扩展 popup 的逻辑,当点击按钮时把当前页面背景色设为绿色:
//popup.js
...
changeColor.onclick = function(element) {
  let color = element.target.value;
  chrome.tabs.query({active: true, currentWindow: true}, function(tabs) {
    chrome.tabs.executeScript(
        tabs[0].id,
        {code: 'document.body.style.backgroundColor = "' + color + '";'});
  });
};
ps: 需要声明权限:activeTab
{
  "name": "Getting Started Example",
...
  "permissions": ["activeTab", "declarativeContent", "storage"],
...
}
5. 交互界面——配置页
新建 options.html 文件并注册到 manifest :
~/demo_chrome_extension/options.html
 <!DOCTYPE html>
  <html>
    <head>
      <style>
        button {
          height: 30px;
          width: 30px;
          outline: none;
          margin: 10px;
        }
      </style>
    </head>
    <body>
      <div id="buttonDiv">
      </div>
      <div>
        <p>Choose a different background color!</p>
      </div>
    </body>
    <script src="options.js"></script>
  </html>
{
  "name": "Getting Started Example",
  ...
  "options_page": "options.html",
  ...
  "manifest_version": 2
}
别忘了js也要放到单独的文件
~/demo_chrome_extension/options.js
let page = document.getElementById('buttonDiv');
  const kButtonColors = ['#3aa757', '#e8453c', '#f9bb2d', '#4688f1'];
  function constructOptions(kButtonColors) {
    for (let item of kButtonColors) {
      let button = document.createElement('button');
      button.style.backgroundColor = item;
      button.addEventListener('click', function() {
        chrome.storage.sync.set({color: item}, function() {
          console.log('color is ' + item);
        })
      });
      page.appendChild(button);
    }
  }
  constructOptions(kButtonColors);
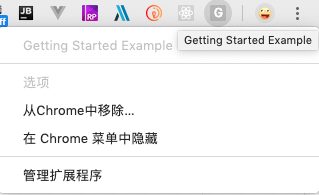
重新加载扩展,现在可以打开 扩展程序选项了
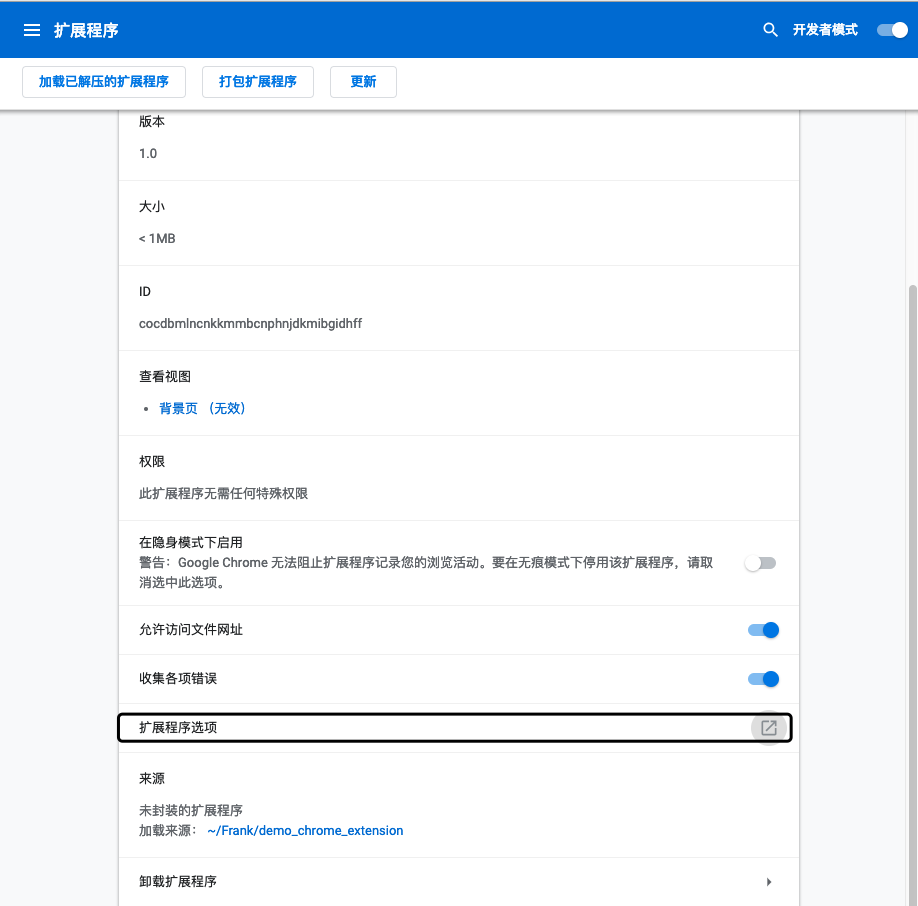
哒哒~ ok啦
